

How to Use Page Lock in Notion: Easy Guide
Ever wondered how to keep your important stuff safe in Notion? Well, today I’m gonna show you a super easy trick called Page Lock. It’s like putting a lock on your door but for your digital notes. So, if you’re ready to learn, let’s dive into how to use Page Lock in Notion step by step. It’s simpler than you might think!
Page Lock is a handy feature in Notion that adds an extra layer of protection to your content.
It allows you to temporarily restrict editing access to a Page, preventing accidental edits without altering user permissions.
This means that as long as you have the initial editing permissions, you can use Page Lock to prevent unintended changes and then easily unlock it when you need to make tweaks.
You can easily identify if Page Lock is enabled by looking for a Locked indicator next to the Page name in the top navigation menu of your Notion window. If you don’t see this indicator, it means Page Lock is off and you’re free to edit. However, if it’s turned on, you’ll need to disable it before making any changes.
How to Use Page Lock in Notion
- Open the document you want to secure.
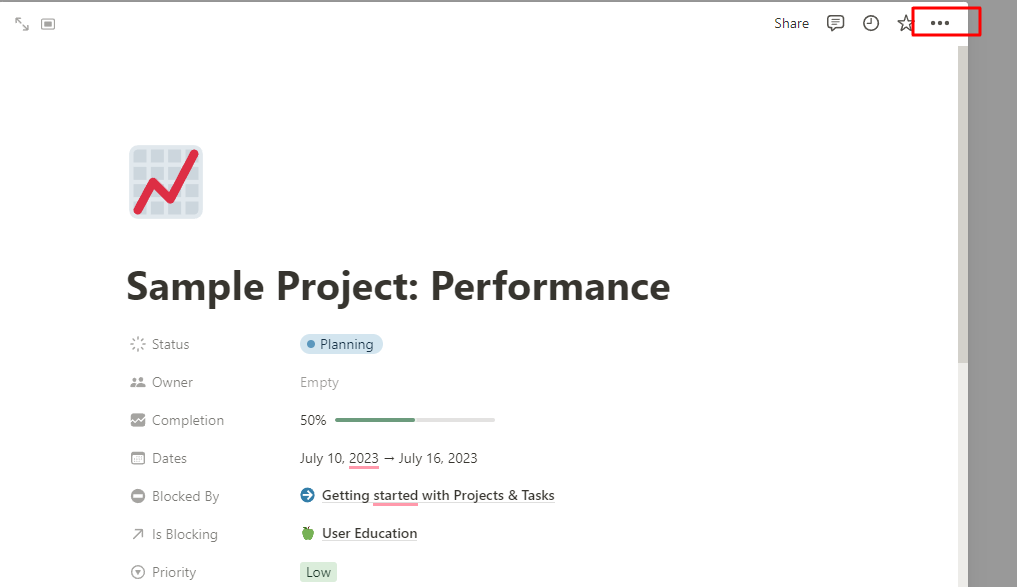
- Locate the three horizontal dots in the upper-right corner of the document.
- Click on the three dots to open the options menu.
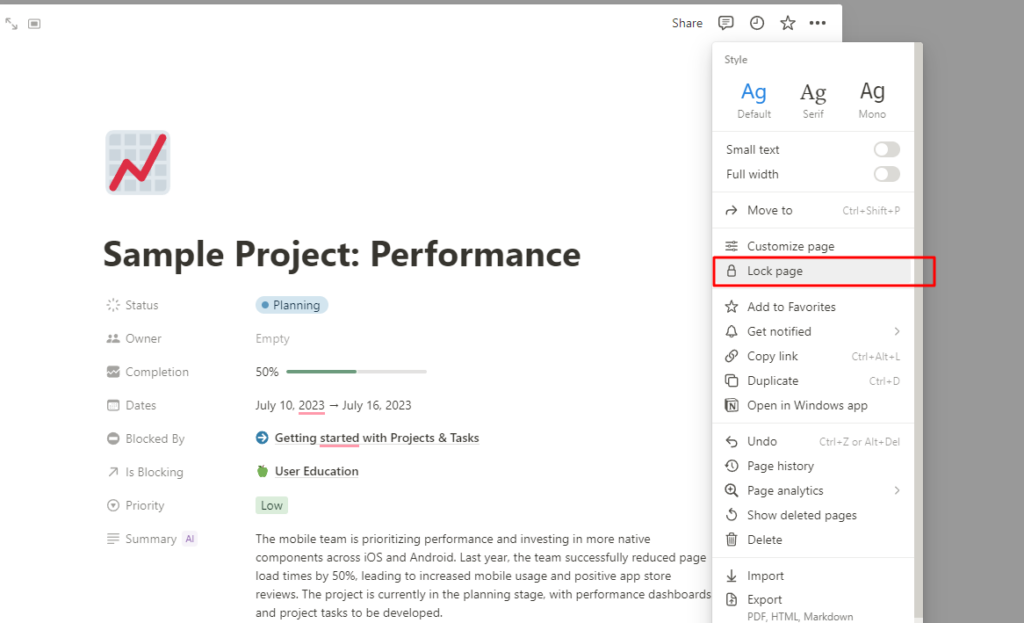
- From the menu, select the option labeled “Lock Page.”
Final Words
Now you know all about Page Lock in Notion. It’s like having a secret code to protect your notes from accidental changes. Just remember those simple steps, and you’ll be a Page Lock pro in no time. So go ahead, give it a try, and keep your important stuff safe and sound. Happy locking!